A Simple Example
In this guide you will
- Set up an Experiment and two Experiment Groups on the PlayUR Dashboard.
- Vary a single Parameter across the two Experiment Groups (by using a default value and an overridden value) on the PlayUR Dashboard.
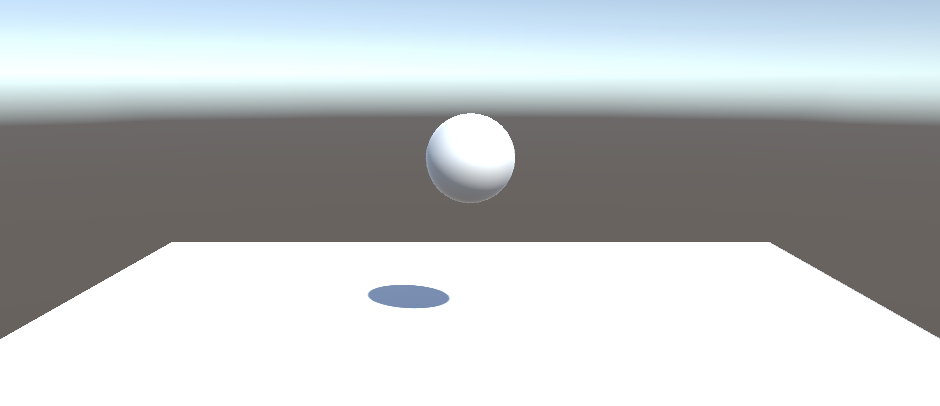
- Set up a simple Unity scene which uses this parameter to guide the bounciness of a ball.
- Optionally, add analytics to the scene to count how many times the ball bounces, and when.
Assumptions
This guide assumes you have registered a PlayUR account that has access to Manage Experiments page and have already followed the steps on the Getting Started page to create a game on PlayUR.
Experiment Set Up
First, we will create an Experiment with two Experiment Groups called Not Bouncy, and Bouncy. In the next section, we will make these two groups have different values for a Parameter called bouncy.
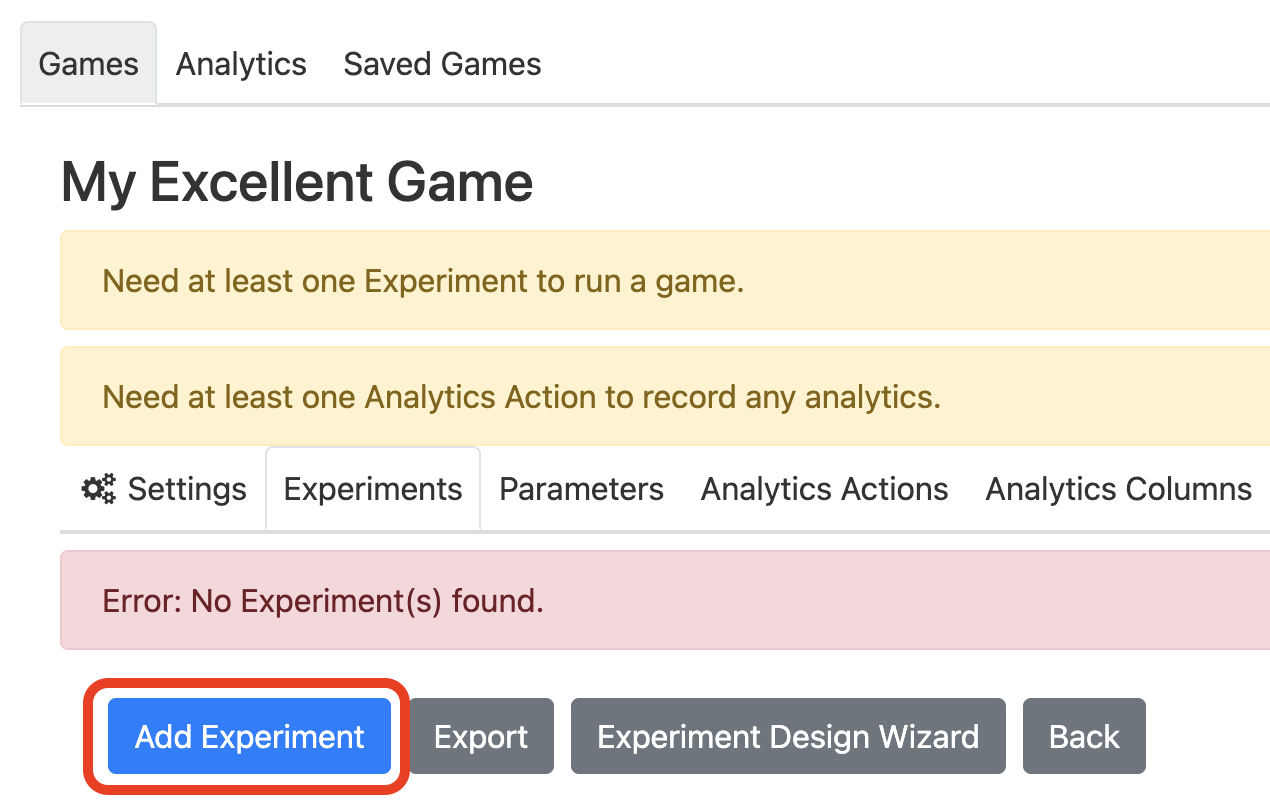
- On your Game page, navigate to the Experiments tab, and click Add Experiment.
- Name the experiment
Bouncing Ball Experiment, leave all other options as default, and press Save.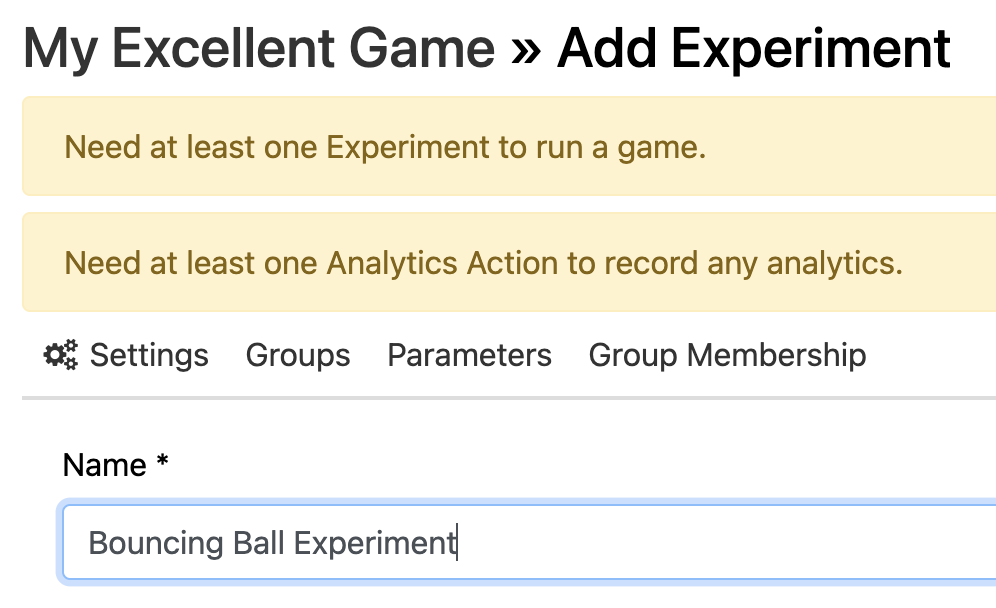
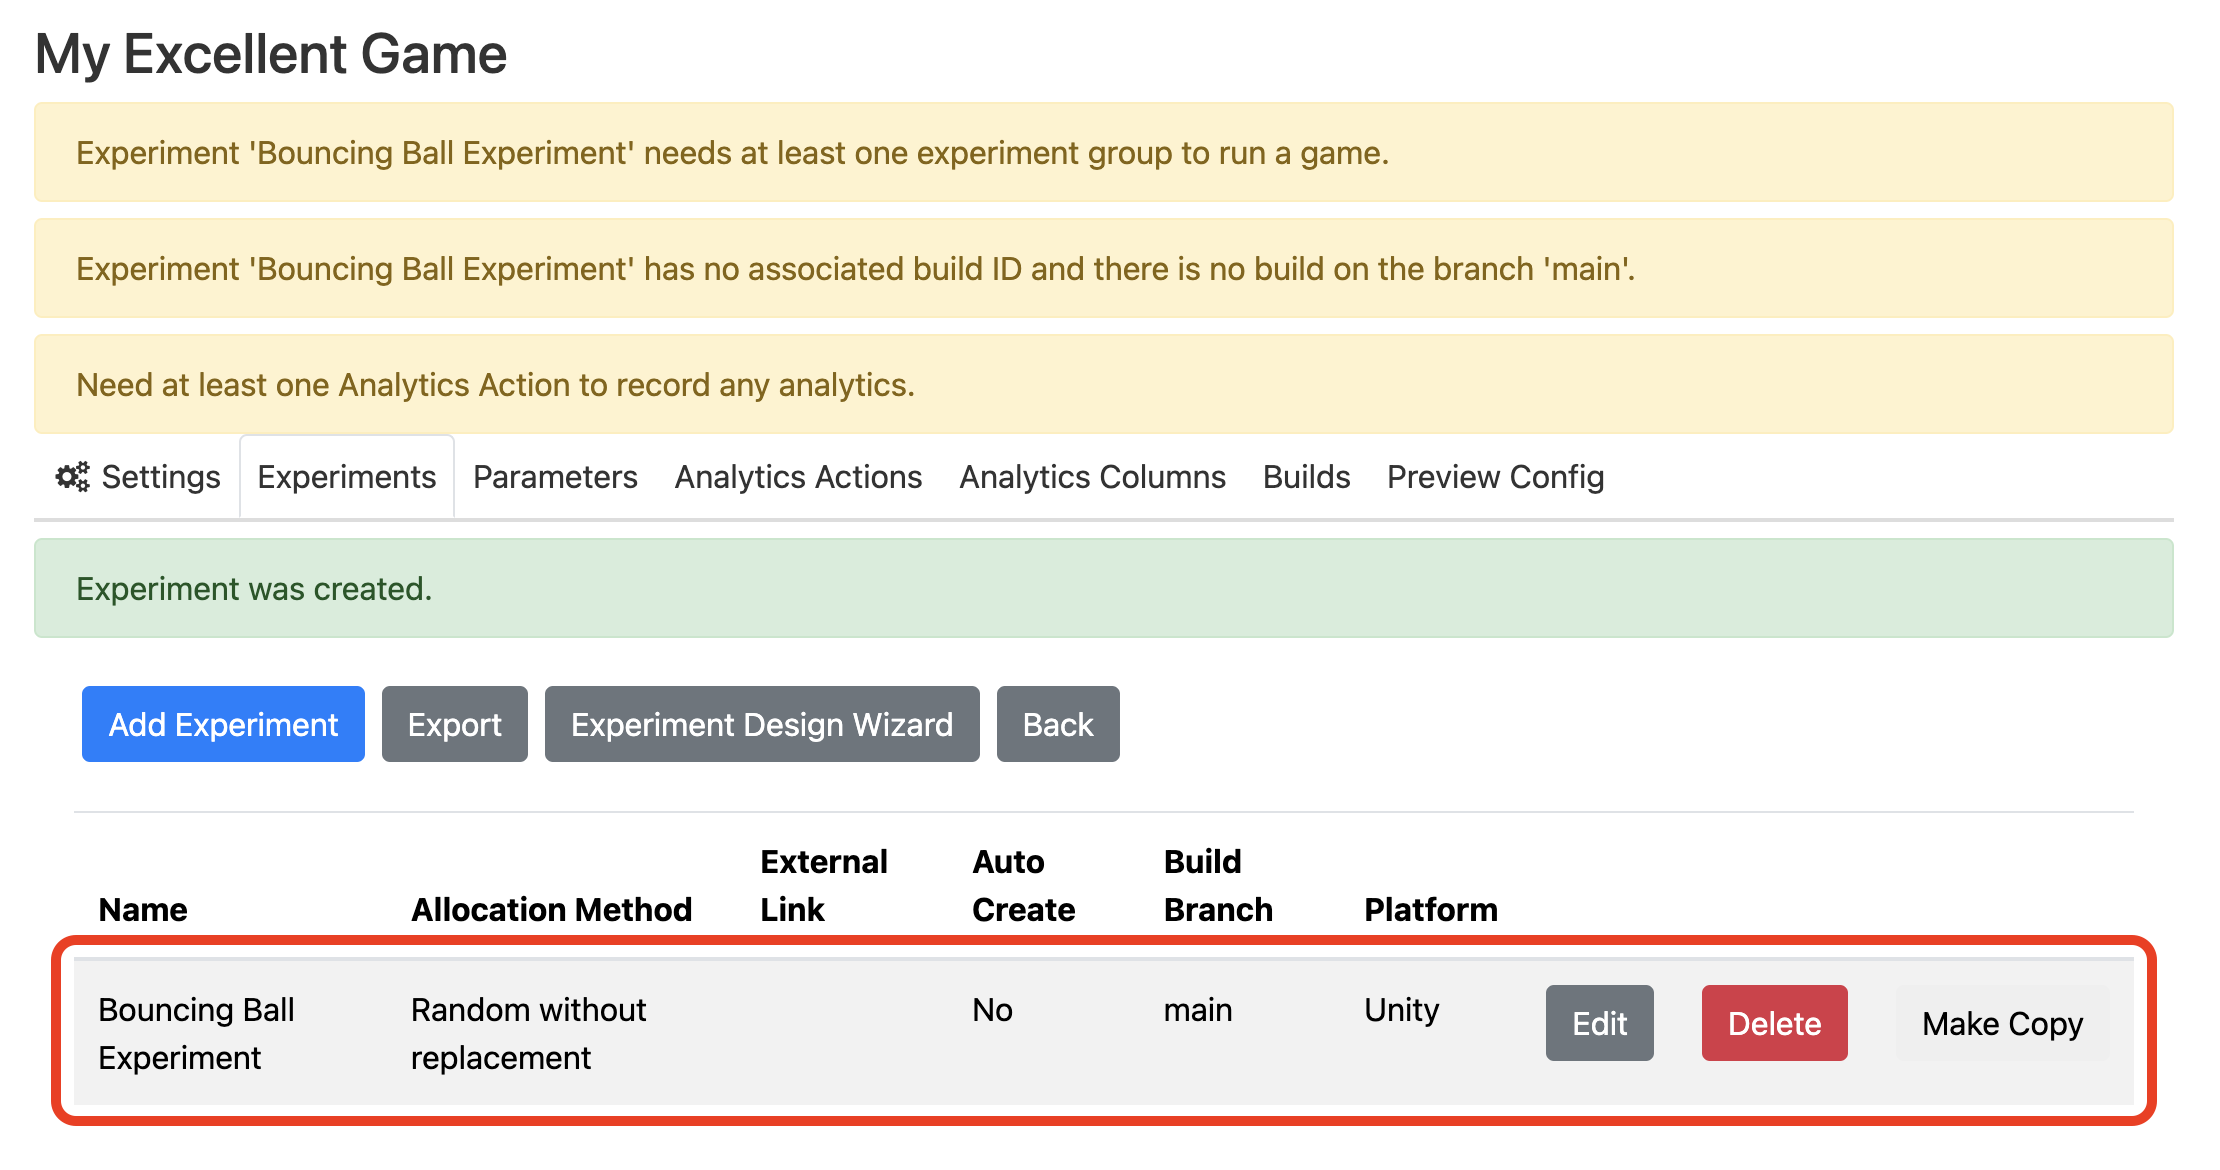
- On the Experiments tab (this should already be open), click on your newly created experiment to open it.
- On the Groups tab (this should be the tab it opens to), click Add Experiment Group.
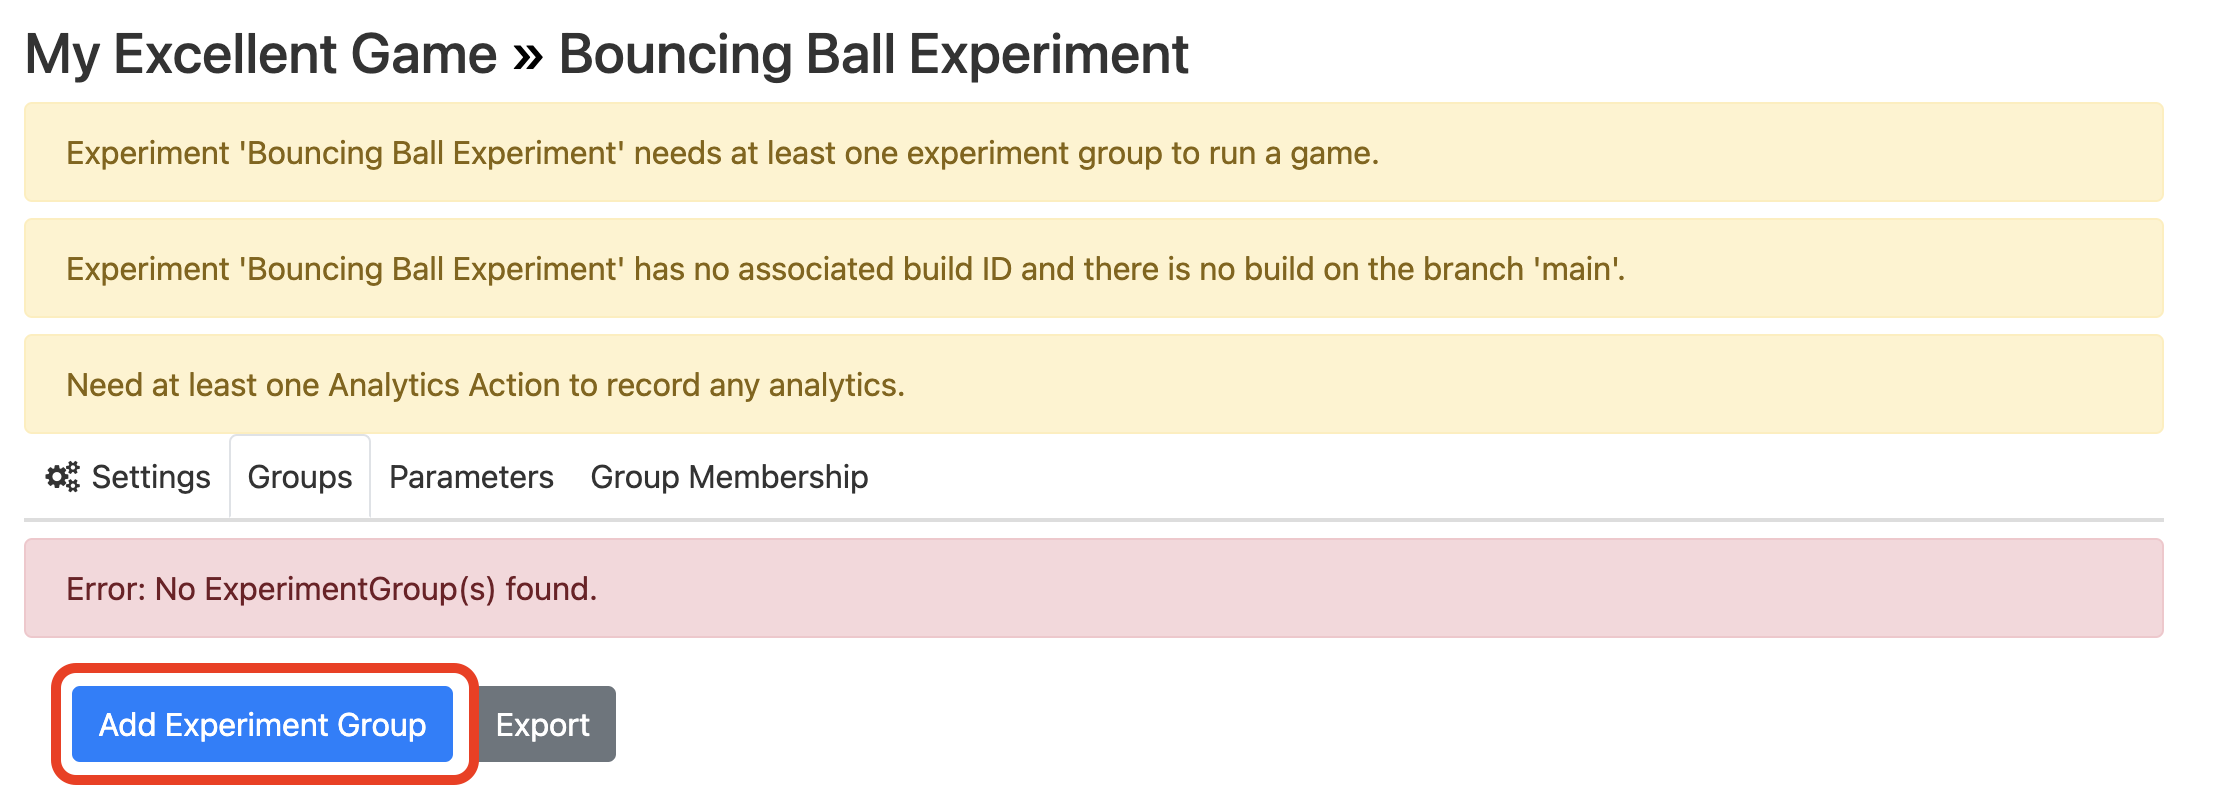
- Name your group
Not Bouncy, leave the other options as default, and press Save. - Repeat steps 4 and 5 to create another group called
Bouncy.
Parameter Set Up
In this section, we will set a default value for a Parameter called bounciness, and then set an override value for this parameter in the Bouncy Experiment Group.
- Return to the Experiments tab for your game, and click on your
Bouncing Ball Experimentto edit it.
- Open the Parameters tab. Click on the text box to Create Parameter, and type in name the parameter
bounciness.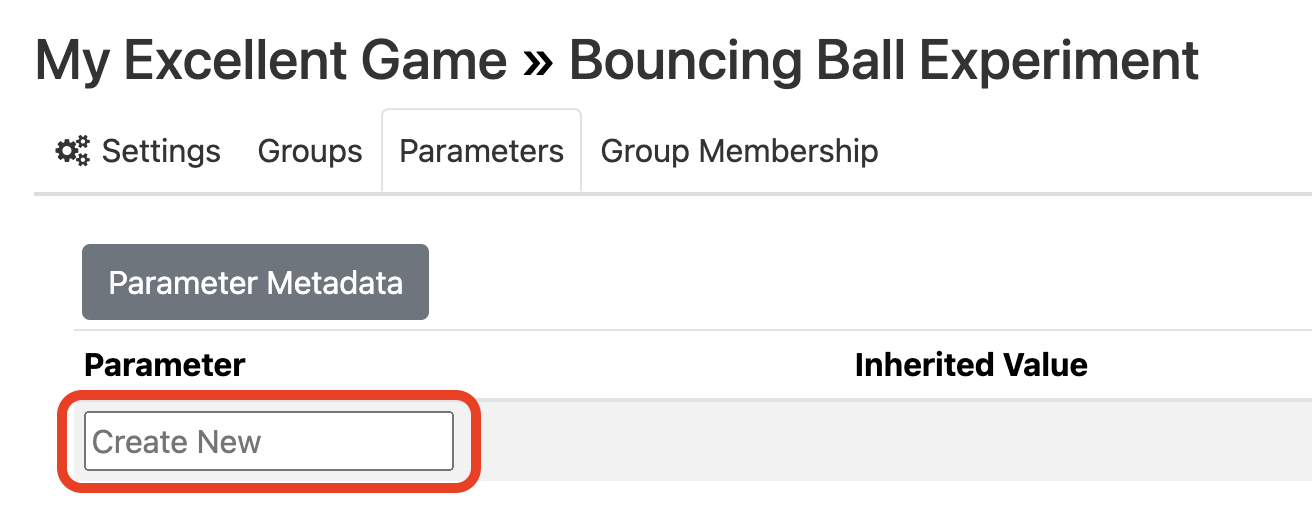
- You'll see that with a parameter name entered, a text box for the parameter value appears. Enter in the value
0for the parameter, and press enter or click Add Parameter. This value will be the default value for all groups within theBouncing Ball Experiment.
- Go to the Groups tab and open the
Bouncygroup.
- Open the Parameters tab. You'll see the
bouncinessparameter already listed, with the default value of0shown. Click the Override button to set an override value for this experiment group.
- The Override button will have changed into a text box. Enter the override value of
1, and press enter or click the Save button.
- You can confirm that things are correctly configured by returning to the Game page, opening the Preview Config tab, selecting your
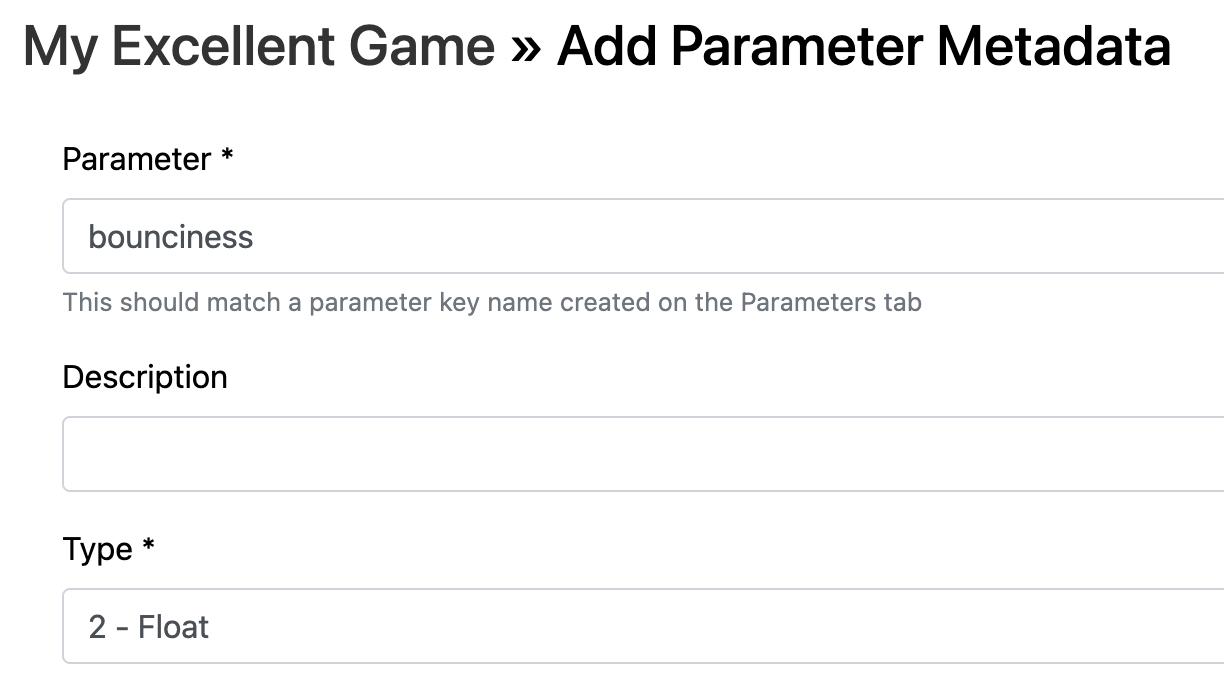
Bouncing Ball Experiment, and observing the difference by selecting different Experiment Groups from the dropdown list.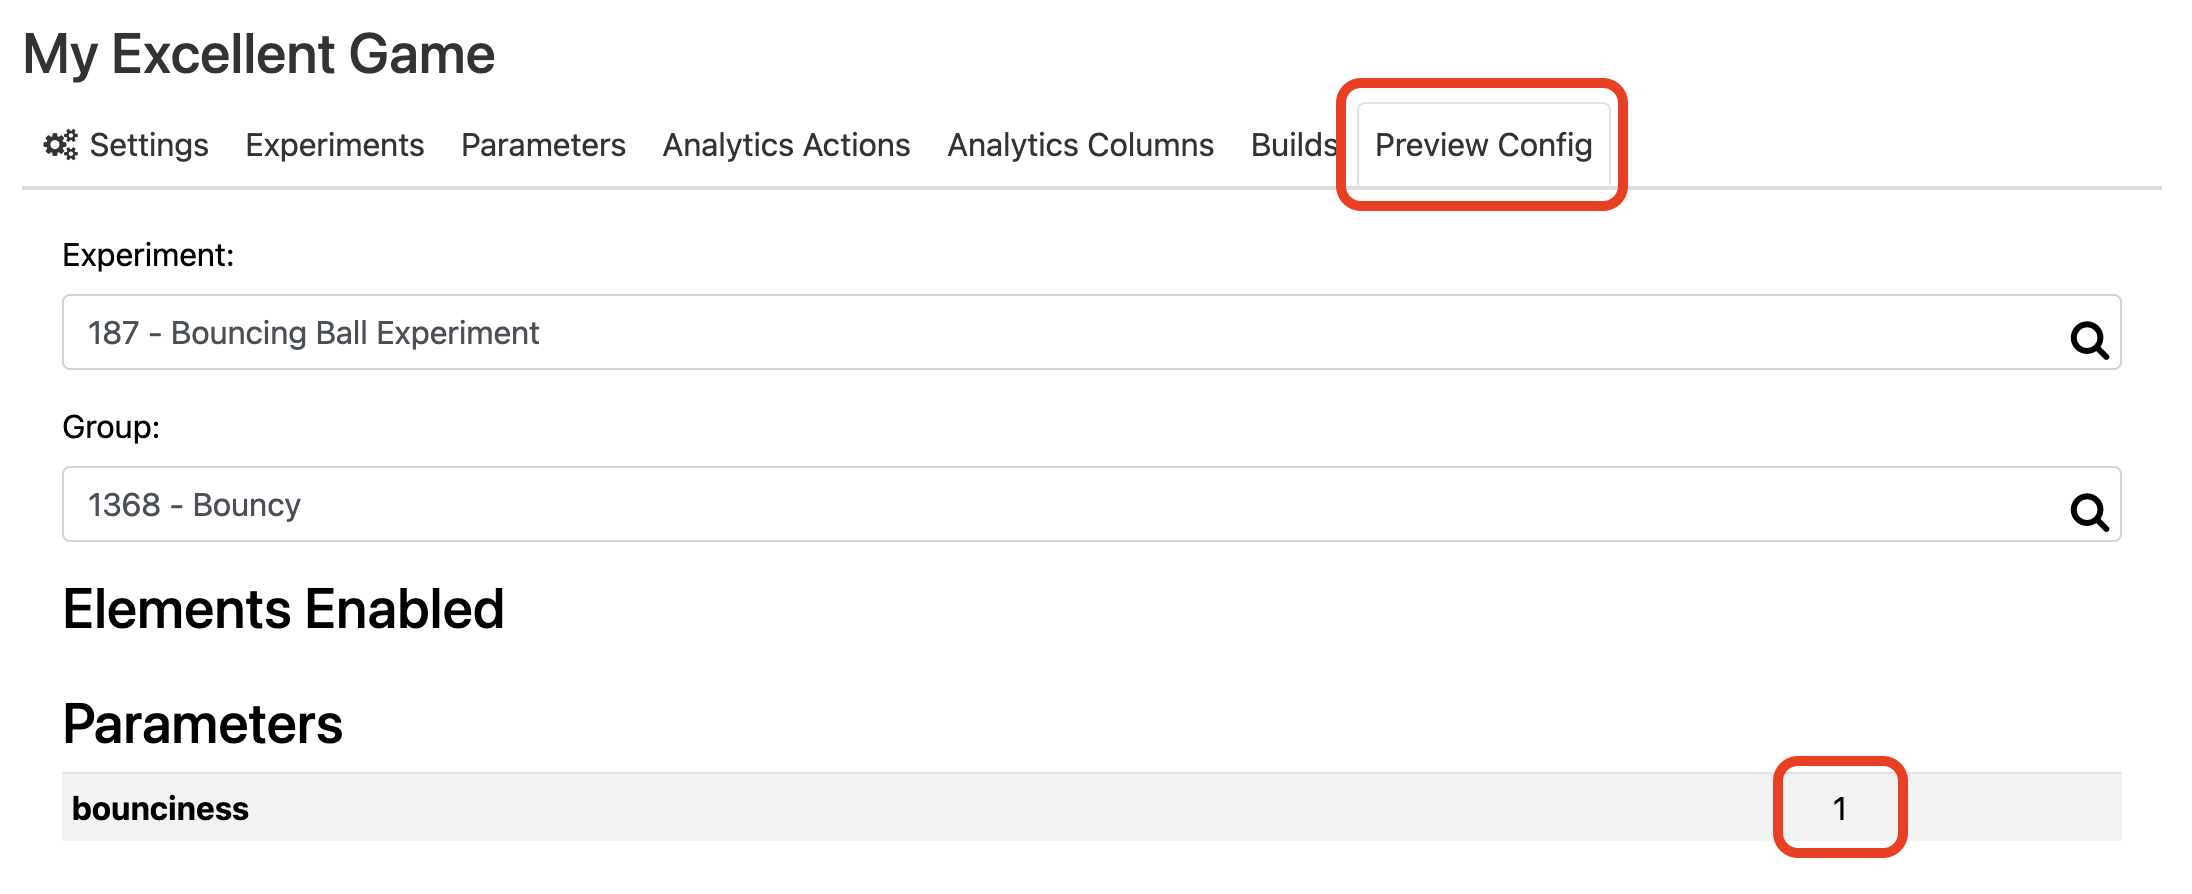 Note that you can optionally choose to set Parameter Metadata for this parameter, to indicate that it should be a number. This gives the advantage of ensuring a number text field appears on the PlayUR dashboard.
Unity Set Up
In this section, we will use the PlayUR Plugin in Unity to set up a simple scene with a ball, with bounciness defined by the bounciness parameter.
- Ensure your project is set up to use the PlayUR Plugin, and has the
Game IDandClient Secretset up. You can follow the instructions on the Getting Started page for this. - Sync the project with the changes you made in the previous section (i.e. the creation of the Experiment, two Experiment Groups, and a Parameter) by selecting the PlayUR -> Regenerate Enums and Schema Definitions option.

- Observe that the plugin is aware of the parameter you created on the PlayUR -> Plugin Configuration... page. You can also look at the
PlayURPlugin / Parameter.csfile.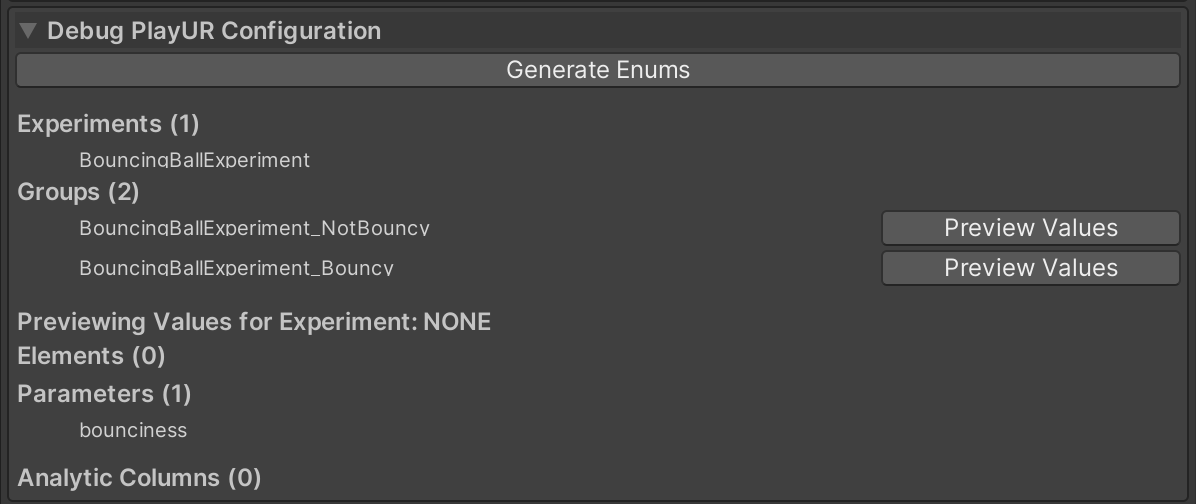

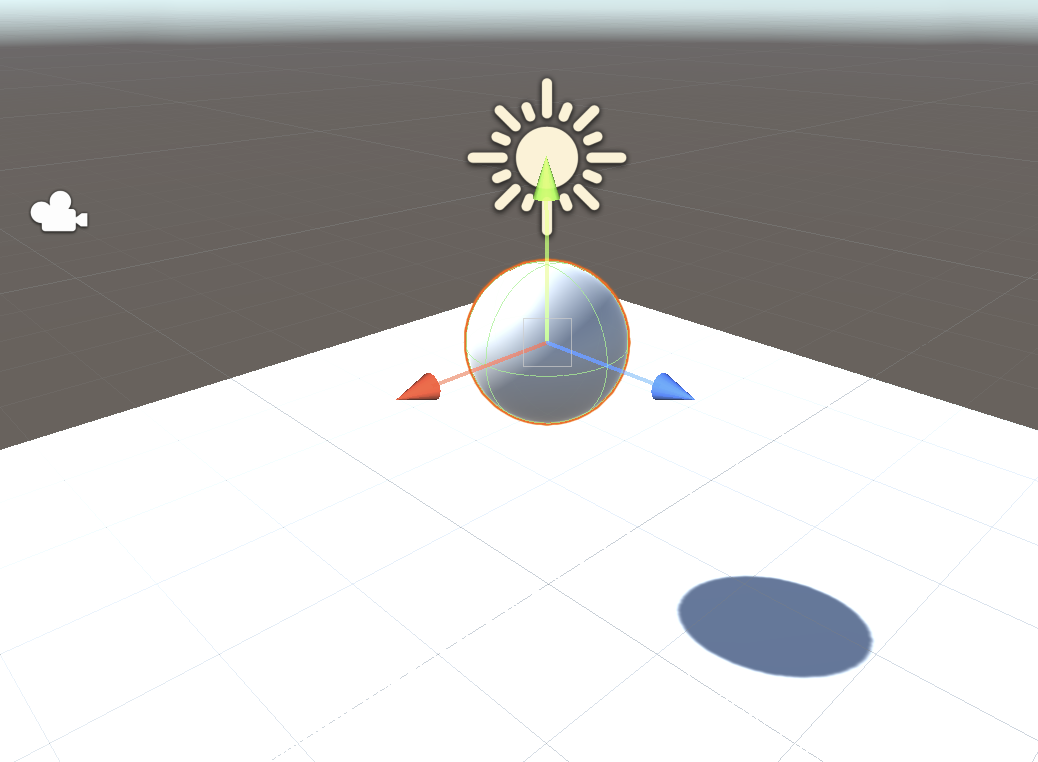
- Set up your scene to have a bouncing ball and a ground plane. You can download this Unity Package and import it into an empty scene if you like.
- Add the
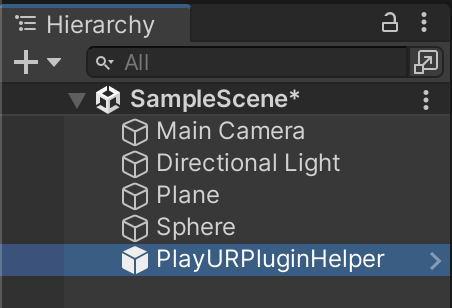
PlayURPluginHelperprefab to your scene from the PlayURPlugin Package Folder / Runtime / Assets folder. This prefab allows us to run your PlayUR project from the editor (upon pressing play, the login scene is automatically opened, and the game returns to your scene after login).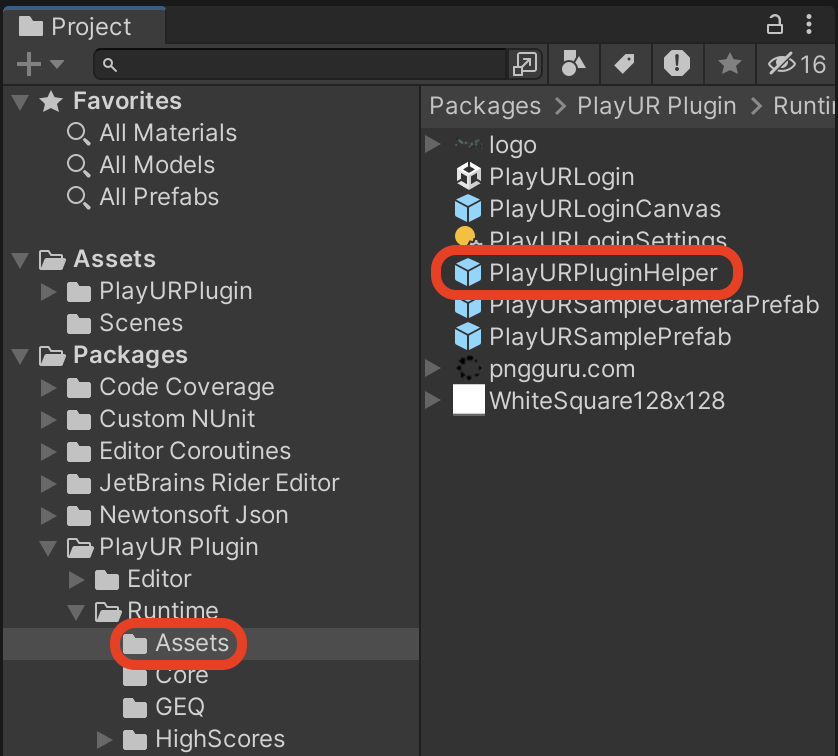
- Add a new script to your ball/sphere called
BouncyBall.cs.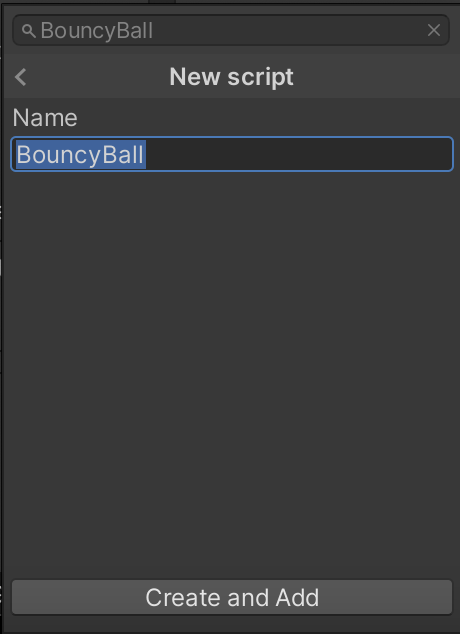
- Add a
usingstatement for PlayUR to the BouncyBall script:
using PlayUR;
- Convert the BouncyBall
MonoBehaviourto aPlayURBehaviour.PlayURBehaviouris the recommended base class for all behaviours that implement PlayUR functionality. It itself inherits fromMonoBehaviour, but provides a useful callback function for reading PlayUR configuration on start up. You can still use PlayUR functionality in aMonoBehaviour, but you need to write additional code to check that the PlayUR Configuration isReady.
public class BouncyBall : PlayURBehaviour
- Replace the
Startfunction with theOnReadycallback:
public override void OnReady()
{

}
- Add the following useful code to print out which
ExperimentGroupyou are in:
print(PlayURPlugin.instance.CurrentExperimentGroup);
We technically don't need this code for anything, but it might make things easier to understand later.
11. Read the bounciness parameter (there are two ways) this can be done:
float bounciness = PlayURPlugin.instance.GetFloatParam(Parameter.bounciness);
float bounciness = Parameters.bounciness;
- Finally, use the following code to apply the bounciness to the ball/sphere using a Unity PhysicMaterial:
var physicsMaterial = new PhysicMaterial();
physicsMaterial.bounciness = bounciness;
physicsMaterial.bounceCombine = PhysicMaterialCombine.Maximum;
GetComponent<Collider>().sharedMaterial = physicsMaterial;
- Run the game. On the first run you will be asked to login with a PlayUR account. In the editor, it is recommended to login with a username and password, instead of via the browser, so that your login credentials can be saved. On the first run, you will be randomly allocated to one of the two ExperimentGroups. You can see which one by looking for the result of your
print()statement in the Console.

- To preview in the Unity editor each of your two ExperimentGroups, stop playing and open PlayUR -> Plugin Configuration... and under Editor Settings select Force Experiment Group in Editor and select the desired Experiment Group from the dropdown. Play again to observe the difference.

Your final BouncyBall.cs code should look like this:
using System.Collections;
using System.Collections.Generic;
using UnityEngine;
using PlayUR;

public class BouncyBall : PlayURBehaviour
{
    public override void OnReady()
    {
        print(PlayURPlugin.instance.CurrentExperimentGroup);

        float bounciness = PlayURPlugin.instance.GetFloatParam(Parameter.bounciness);
        //or: float bounciness = Parameters.bounciness;

        var physicsMaterial = new PhysicMaterial();
        physicsMaterial.bounciness = bounciness;
        physicsMaterial.bounceCombine = PhysicMaterialCombine.Maximum;
        GetComponent<Collider>().sharedMaterial = physicsMaterial;
    }
}
Extension: Adding Analytics
In this section, we will add a simple Analytics Action to record when a ball bounces. This action will automatically contain the timestamp of when the ball bounces, however we will add additional meta-data such as the time since level start up, or the position of the ball when it bounced using Analytics Columns.
PlayUR Dashboard Set-Up
- On the PlayUR dashboard, navigate to your Game settings and choose the Analytics Actions tab. Click the Add Action button.

- Name the action
BallBounced(no spaces), and leave the other options as default. Press Save.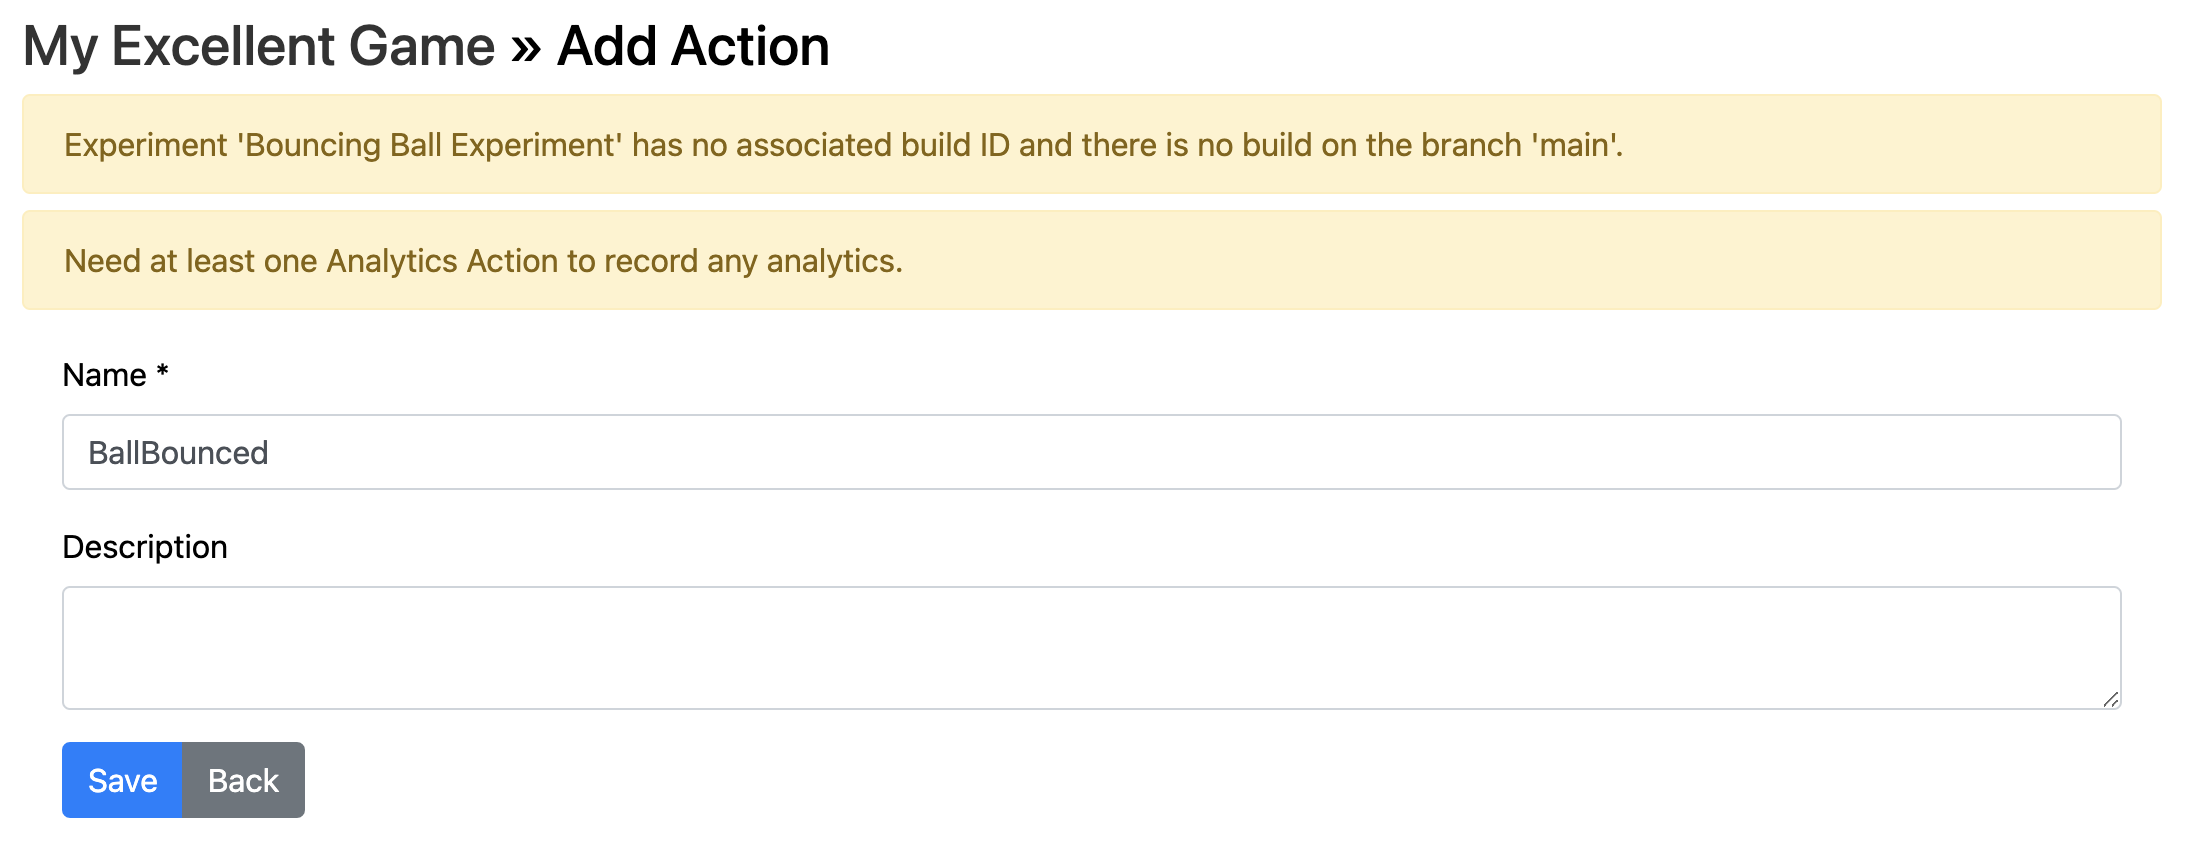
- Now open the Analytics Columns tab and click the Add Analytics Column button.

- Name the column
TimeSinceLevelLoad, and leave the other options as default. Press Save.
- Repeat steps 3 and 4 to create another column called
BallPosition.
Unity Set-Up
We have made configuration changes on the PlayUR Dashboard. Whenever we do this we should ensure the PlayUR Plugin is synced with your changes. Note we only need to do this when adding/removing Experiments, Groups, Parameters, Elements, Analytics Actions, Analytics Columns not when changing a Parameter value. Parameter values can be adjusted at any time without the need to rebuild your project.
- In your Unity project select the PlayUR -> Regenerate Enums and Schema Definitions option.

- Observe that your new column and action are visible on the PlayUR -> Plugin Configuration... -> Debug PlayUR Configuration page, as well as in the
PlayURPlugin / Actions.csandPlayURPlugin / AnalyticsColumns.csfiles.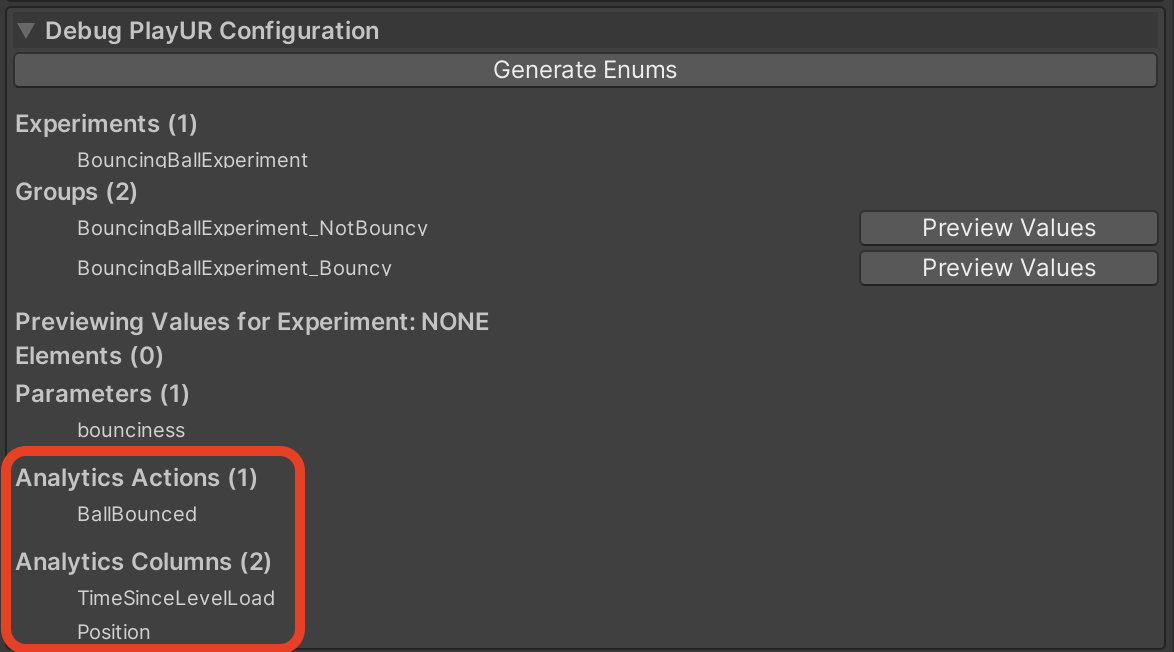


- Add the following code to your
BouncyBall.csclass:
public void OnCollisionEnter(Collision collision)
{
    var action = PlayURPlugin.instance.BeginRecordAction(Action.BallBounced);
    action.AddColumn(AnalyticsColumn.TimeSinceLevelLoad, Time.timeSinceLevelLoad);
    action.AddColumn(AnalyticsColumn.Position, transform.position.ToString());
    action.Record();
}
Note the use of the Action and AnalyticsColumn enums which match your set up on the PlayUR Dashboard.
Also note that if you wanted to record a simpler action without any Analytics Columns, you could use the PlayURPlugin.instance.RecordAction() function, without the need for the record local variable.
4. Play the game (preferably in the experiment group where the ball is bouncy), and let the ball bounce a few times.
Checking the Data
- On the PlayUR Dashboard, visit the Analytics tab. Choose your game and experiment from the dropdown list.

- You should see a list of sessions that have been recorded from the times you played the game. The top of the list is the most recent, and if you let the ball bounce, you should see a button to Show Actions. Click it to see a list of data.

- Observe the collected data.
 Some features to note:
- You can also use the Export CSV button to see the data for a single session, or for all listed sessions.
- You can turn on Auto Refresh and have the actions expanded for a currently running session to see data being added to the list live while the game is running.
What's Next?
This guide has shown you how to set up an experiment that varies a single parameter and collect data, from start to finish. These are the fundamental building blocks for all PlayUR experiments, and you have most of what you need to know to build your own. From here you should
- View more guides on specific aspects of the PlayUR Plugin, including the highscores table, MTurk integration, etc.
- Explore the different functions available to you as listed in the Api Documentation